 Back
Back
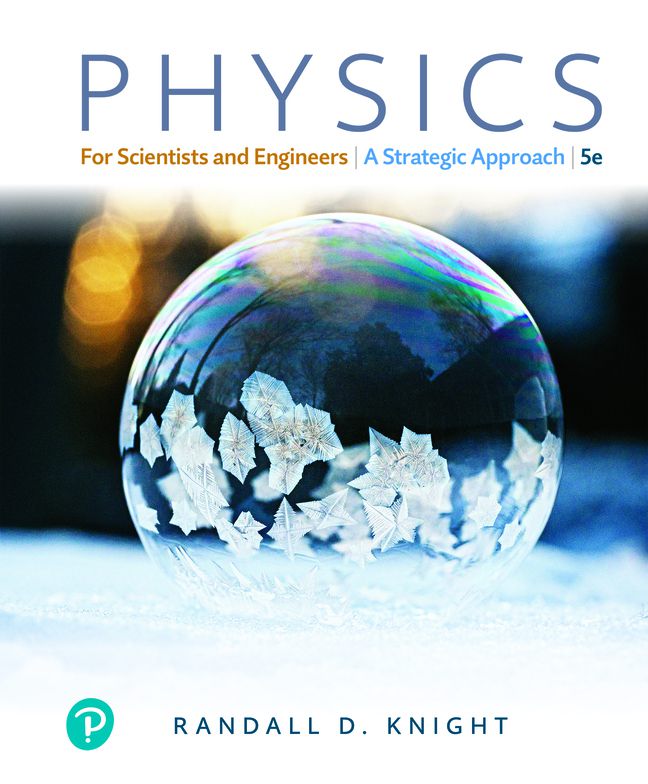
Knight Calc5th EditionPhysics for Scientists and EngineersISBN: 9780137344796Not the one you use?Change textbook
 Back
BackPhysics - Knight Calc 5th Physics for Scientists and Engineers - Textbook solutions & answers
Ch 01: Concepts of Motion35 solutions
Ch 02: Kinematics in One Dimension75 solutions
Ch 03: Vectors and Coordinate Systems58 solutions
Ch 04: Kinematics in Two Dimensions60 solutions
Ch 05: Force and Motion23 solutions
Ch 06: Dynamics I: Motion Along a Line53 solutions
Ch 07: Newton's Third Law27 solutions
Ch 08: Dynamics II: Motion in a Plane52 solutions
Ch 09: Work and Kinetic Energy56 solutions
Ch 10: Interactions and Potential Energy50 solutions
Ch 11: Impulse and Momentum56 solutions
Ch 12: Rotation of a Rigid Body71 solutions
Ch 13: Newton's Theory of Gravity52 solutions
Ch 14: Fluids and Elasticity44 solutions
Ch 15: Oscillations55 solutions
Ch 16: Traveling Waves37 solutions
Ch 17: Superposition39 solutions
Ch 18: A Macroscopic Description of Matter53 solutions
Ch 19: Work, Heat, and the First Law of Thermodynamics60 solutions
Ch 20: The Micro/Macro Connection53 solutions
Ch 21: Heat Engines and Refrigerators34 solutions
Ch 22: Electric Charges and Forces40 solutions
Ch 23: The Electric Field39 solutions
Ch 24: Gauss' Law32 solutions
Ch 25: The Electric Potential63 solutions
Ch 26: Potential and Field57 solutions
Ch 27: Current and Resistance42 solutions
Ch 28: Fundamentals of Circuits39 solutions
Ch 29: The Magnetic Field47 solutions
Ch 30: Electromagnetic Induction60 solutions
Ch 31: Electromagnetic Fields and Waves32 solutions
Ch 32: AC Circuits63 solutions
Ch 33: Wave Optics32 solutions
Ch 34: Ray Optics57 solutions
Ch 35: Optical Instruments30 solutions
Ch 36: Special Relativity38 solutions
Ch 37: The Foundations of Modern Physics25 solutions
Ch 38: Quantization49 solutions
Ch 39: Wave Functions and Uncertainty31 solutions
Ch 40: One-Dimensional Quantum Mechanics35 solutions
Ch 41: Atomic Physics18 solutions
Ch 42: Nuclear Physics27 solutions
